DIY Cosmetic Bag Pattern: Expert Seamstress Tips for Custom Beauty Storage
Creating your own cosmetic bag combines creativity, functionality, and the satisfaction of handmade craftsmanship. Whether you’re storing budget cosmetic brands or luxury skincare essentials, a personalized sewing pattern allows you to design storage that matches your lifestyle and aesthetic preferences. This comprehensive guide walks you through selecting fabrics, understanding pattern construction, and mastering sewing techniques that professional seamstresses use to create durable, beautiful cosmetic bags.
The beauty of DIY cosmetic bag sewing lies in its accessibility for both beginners and experienced sewers. You’ll learn how to source quality materials, interpret sewing patterns correctly, and add professional finishing touches that elevate your creation from amateur craft to polished accessory. Whether you’re interested in designer cosmetic bag aesthetics or functional minimalist designs, these expert tips will guide your project from pattern selection through completion.
Understanding Cosmetic Bag Pattern Fundamentals
Cosmetic bag patterns serve as your blueprint for creating functional beauty storage. Unlike clothing patterns that require precise fit measurements, cosmetic bag patterns focus on dimensional accuracy and internal organization. A well-designed pattern accounts for expansion when filled with products, reinforced stress points where zippers attach, and adequate seam allowances for professional construction.
Professional seamstresses recommend starting with patterns that include clear markings for grain line direction, which affects fabric drape and durability. The grain line determines how fabric stretches and wears over time—critical when your bag will experience frequent opening, closing, and the weight of daily skincare products. Understanding whether your pattern calls for cutting on the straight grain or bias affects both the aesthetic and longevity of your finished cosmetic bag.
Most cosmetic bag patterns include multiple pieces: front and back panels, side gussets, zipper plackets, and optional interior pockets. The complexity varies from simple rectangular pouches to structured bags with multiple compartments. Before selecting a pattern, assess your skill level honestly. Beginners benefit from patterns with minimal pieces and straightforward construction, while experienced sewers can tackle intricate designs with curved seams and complex pocket systems.
Selecting Appropriate Fabrics for Durability
Fabric choice dramatically impacts your cosmetic bag’s durability, appearance, and functionality. Professional seamstresses prioritize materials that withstand frequent use, resist staining from product spills, and maintain structural integrity when filled with heavier items like serums and moisturizers.
Canvas and Heavyweight Cotton: These natural fibers offer excellent durability and accept dye beautifully. Canvas ranges from lightweight (8-10 oz) to heavyweight (14+ oz). For cosmetic bags, 12-14 oz canvas provides optimal balance between structure and workability. Canvas naturally resists puncturing and holds its shape, essential when storing items with sharp applicators or metal components.
Linen Blends: Linen-cotton blends combine natural aesthetics with improved wrinkle resistance compared to pure linen. These fabrics develop a beautiful patina with age and use, making them ideal for sewers who appreciate vintage or artisanal aesthetics. Linen’s natural antibacterial properties make it an excellent choice for storing skincare products.
Quilted Fabrics: Pre-quilted materials eliminate the need for separate lining and batting layers. These fabrics provide cushioning that protects delicate cosmetics and skincare items during travel. Look for quilted fabrics with substantial weight (at least 6 oz) to prevent sagging when filled.
Waxed Canvas: This water-resistant option suits travelers and those concerned about product spills damaging the bag exterior. Waxed canvas requires careful needle selection and slower sewing speeds, but the water-resistant properties justify the extra effort.
Synthetic Options: Laminated cotton and oilcloth provide waterproof properties while remaining easier to sew than waxed canvas. These materials work exceptionally well for cosmetic bag applications where moisture protection matters. However, they require specialized needles and thread to prevent puckering.
Avoid lightweight fabrics like quilter’s cotton or broadcloth for cosmetic bags. These materials lack structural integrity and may tear or pill under repeated use. Similarly, stretchy fabrics like knits and spandex blends complicate sewing and create unpredictable finished dimensions.
Essential Tools and Supplies for Sewing
Professional seamstresses invest in quality tools that make pattern work more efficient and results more consistent. While you don’t need every available tool, certain essentials directly impact your cosmetic bag’s quality and your sewing experience.
Cutting Tools: Rotary cutters, self-healing mats, and clear quilting rulers enable precise pattern cutting. A 45mm rotary cutter works well for general cutting, while a smaller 28mm cutter handles tight curves and detailed work. Invest in quality fabric scissors reserved exclusively for fabric—using them on paper dulls blades rapidly.
Measuring and Marking: A clear ruler with 1/8-inch markings ensures accurate seam allowances. Pattern weights hold fabric patterns in place during cutting without creating holes like pins. Fabric markers in contrasting colors help transfer pattern markings without damaging the material.
Sewing Machine Needles: Use size 70/10 or 80/12 universal needles for most cotton and linen fabrics. Thicker fabrics require 90/14 needles, while specialty fabrics like laminated cotton need topstitching needles. Replace needles frequently—a bent or dulled needle creates tension problems and risks skipped stitches.
Thread Selection: All-purpose polyester thread works reliably for most cosmetic bag projects. For visible topstitching, consider thread weight and color coordination. Heavier-weight threads create more prominent stitching lines that add professional detail. Match thread to fabric color for invisible seams or choose contrasting thread for decorative emphasis.
Zipper and Hardware: Quality zippers make the difference between a cosmetic bag that feels cheap and one that feels premium. Coil zippers are gentler on delicate fabrics than metal-toothed varieties. Measure your zipper carefully against your pattern—zippers that are too short or long compromise functionality and appearance.
Interfacing: Lightweight to medium-weight interfacing reinforces areas around zippers and handles. Fusible interfacing bonds to fabric with heat, simplifying construction compared to sew-in varieties. Choose interfacing weight based on your fabric—heavier fabrics need heavier interfacing to prevent buckling.
Step-by-Step Pattern Construction Guide
Creating a cosmetic bag from pattern to finished product requires attention to sequence and precision. Professional seamstresses follow a specific order that prevents mistakes and ensures structural integrity.
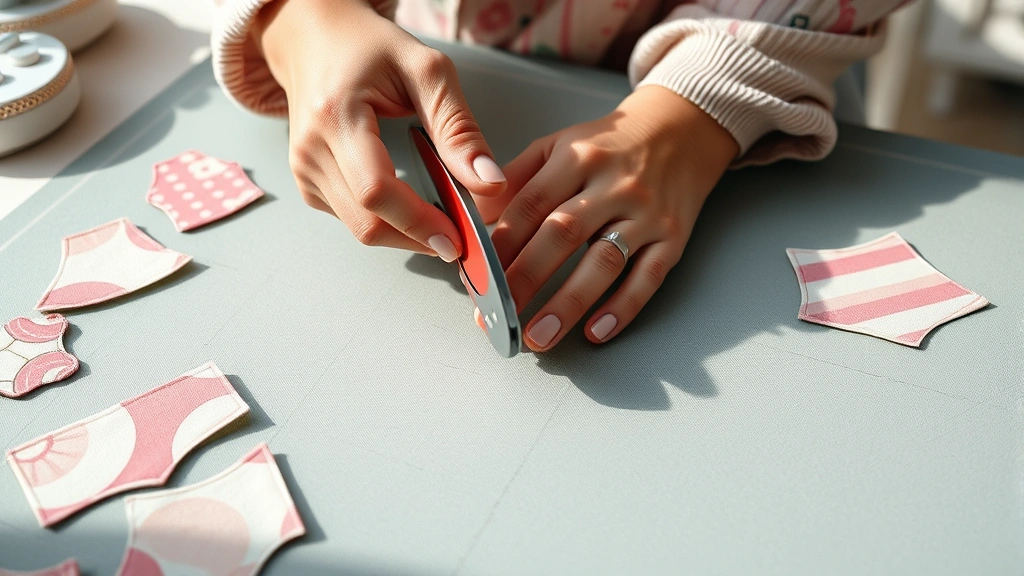
Step 1: Prepare Your Workspace: Lay out all pattern pieces on fabric, considering grain line direction and pattern placement. For directional prints, ensure all pieces face the same direction. Use pattern weights to secure pieces while cutting, preventing shifting that creates inaccurate dimensions. Cut carefully along pattern edges, maintaining consistent seam allowances.
Step 2: Apply Interfacing: Fuse interfacing to fabric pieces designated in your pattern, typically around zipper placement areas and exterior panels. Follow interfacing manufacturer instructions regarding temperature and pressing time. Proper interfacing application prevents stretching and maintains sharp edges around zippers.
Step 3: Prepare Pockets (if applicable): If your pattern includes interior pockets, construct these before assembling main bag pieces. Press seam allowances, topstitch pocket openings for reinforcement, and attach pockets to interior panels with precise stitching.
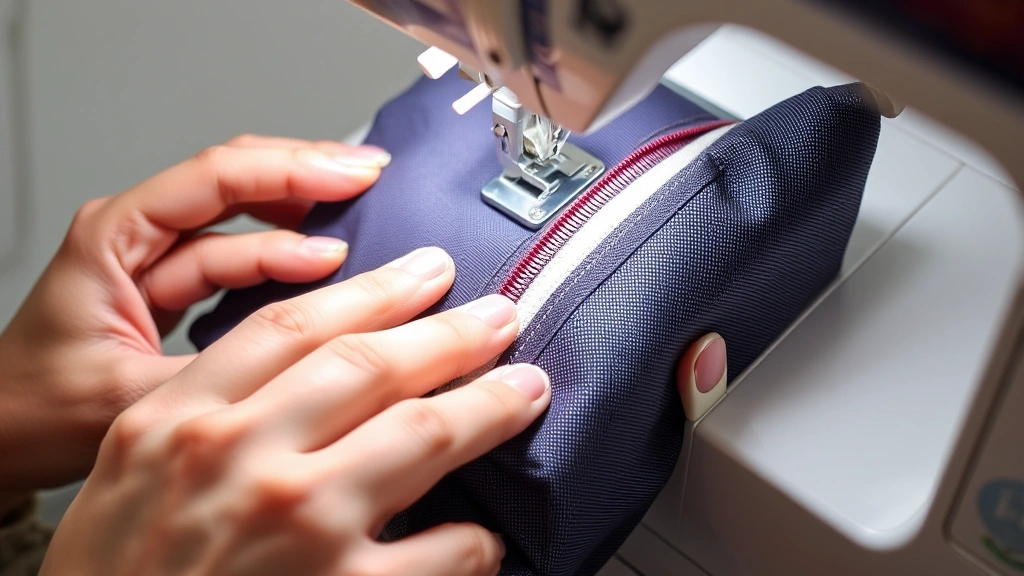
Step 4: Attach Zipper: This critical step requires careful alignment. Most cosmetic bag patterns call for inserting zippers between exterior and lining panels. Pin the zipper carefully, ensuring it aligns parallel to edges. Sew slowly, pausing frequently to check alignment. Many professionals use a zipper foot attachment for better visibility and control.
Step 5: Construct Side Panels: Sew side gussets to main panels with matching seams. Press seams open to reduce bulk. If your pattern includes multiple panels, construct in logical sequence, building from simpler to more complex assemblies.
Step 6: Assembly and Final Seams: With all components prepared, sew main panels together, typically starting with one side seam, adding bottom panel, then completing the second side. Press seams as you progress to maintain accurate dimensions and clean lines.
Step 7: Boxing the Corners: Professional cosmetic bags often feature boxed corners that allow expansion when filled. To box corners, fold bottom seams to create triangular points, then sew across the point at a distance specified by your pattern. This creates flat, stable bottom corners.
Professional Finishing Techniques
The difference between amateur and professional-looking cosmetic bags lies in finishing details. Expert seamstresses employ techniques that polish the final product and extend durability.
Seam Finishing: Interior seams should be neat and finished to prevent fraying and create a professional appearance. Options include pinking seams with pinking shears, binding seams with bias tape, or using a serger if available. For bags that will be seen from inside, neat seams matter—they’re the first thing users notice when opening the bag.
Topstitching: Visible stitching around zipper edges, seams, and handles adds structural reinforcement while creating design detail. Use matching or contrasting thread depending on desired aesthetic. Maintain consistent stitch length and distance from edges for professional appearance. A 1/4-inch distance from edges creates subtle definition, while 1/2-inch topstitching makes bolder statements.
Binding and Trim: Bias tape binding around raw edges creates polished finishes and reinforces stress points. Bias binding also allows color coordination or contrasting accents that enhance overall design. Many designers use binding as a design element rather than purely functional finish.
Hardware Installation: If your pattern includes handles, D-rings, or other hardware, install these securely with reinforcement stitching. Box-stitching (stitching a square with an X through the center) creates maximum hold for handle attachment points.
Customization Ideas and Design Variations
Once you master basic cosmetic bag construction, customization options expand your creative possibilities. Professional seamstresses develop signature styles through thoughtful personalization.
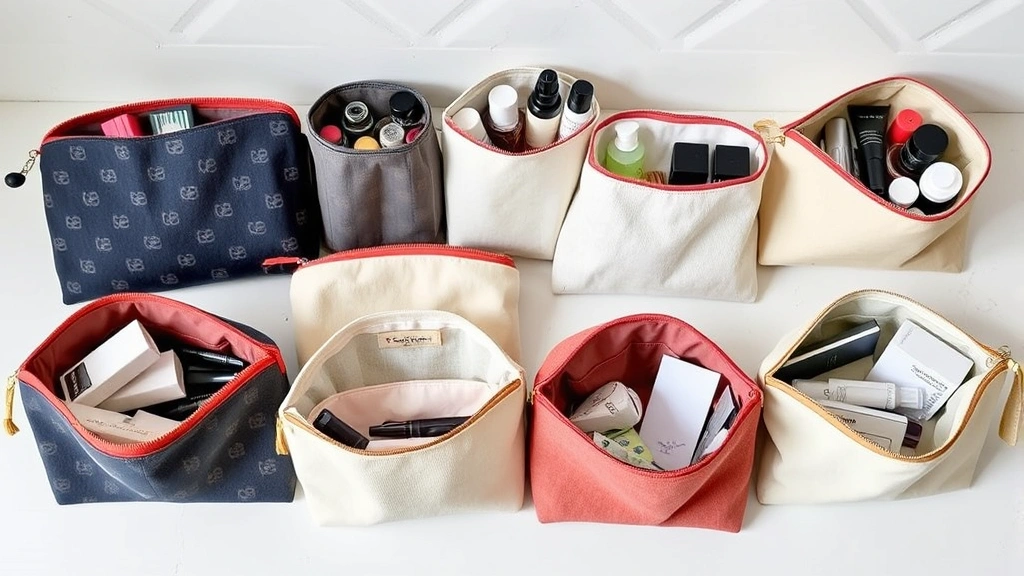
Interior Organization: Beyond basic pockets, consider elastic pen holders, zip-lock pouches, or divided compartments for organizing skincare items like green tea-infused products separately from makeup. These additions require careful planning during pattern layout but transform functional bags into highly organized systems.
Multiple Compartments: Design bags with separate sections for different product categories. Waterproof compartments for liquid products, insulated sections for temperature-sensitive items, and designated spaces for tools and brushes create comprehensive storage solutions for comprehensive skincare routines.
Fabric Combinations: Mix complementary fabrics to create visual interest while serving functional purposes. Use durable canvas for exterior panels with soft linen lining, or combine patterned fabric with solid colors. This technique requires careful color coordination but creates designer-quality aesthetics.
Personalization: Embroider initials, monograms, or designs onto finished bags for personalized touches. Hand embroidery adds artisanal quality, while machine embroidery enables complex designs. Personalization transforms simple bags into cherished keepsakes or thoughtful gifts.
Variable Sizing: Create multiple bags in different sizes for organizing various product categories. A small pouch for lip products and travel sizes, a medium bag for daily skincare, and a large bag for full skincare collections offers organized flexibility.
Troubleshooting Common Sewing Challenges
Even experienced seamstresses encounter challenges. Understanding common problems and solutions prevents frustration and improves results.
Puckering Seams: This occurs when fabric tension is uneven or needle tension requires adjustment. Check that both top and bobbin tension settings match your fabric weight. Heavier fabrics need slightly looser tension than lightweight materials. Using appropriate needle sizes also prevents puckering—an 80/12 needle works better with heavyweight canvas than a 70/10 needle.
Zipper Insertion Difficulties: Zippers that bunch, pucker, or don’t align properly usually indicate insufficient pinning or slow sewing speed. Take extra time pinning zippers, checking alignment every inch as you sew. A zipper foot helps tremendously by allowing closer needle positioning.
Uneven Seams: Maintaining consistent seam width requires practice and proper technique. Use your sewing machine’s seam guides or apply painter’s tape as a visual guide. Consistent pressure and sewing speed prevent seam wandering.
Fabric Slipping: Slippery fabrics like linen blends or laminated cotton require pattern weights instead of pins. Pins create holes without holding these materials securely. If fabric still shifts during cutting, consider spray-basting the pattern to fabric temporarily.
Thread Breakage: Frequent thread breakage indicates tension problems, incorrect needle installation, or bent needles. Replace the needle first—this solves most breakage issues. Check that thread winds smoothly from the spool and passes through all tension guides.
Visit The Quilting Arts for additional sewing resources and community support. The American Sewing Guild provides mentorship and pattern recommendations from experienced sewers. For pattern-specific questions, consult Craftsy‘s video tutorials demonstrating techniques in real-time. The Furniture Makers Guild offers advanced construction techniques applicable to structured bag projects. For sustainable fabric sourcing, explore OEKO-TEX certified materials that prioritize safety and environmental responsibility.
FAQ
What fabric weight works best for cosmetic bags?
12-14 oz canvas, medium-weight linen blends, or pre-quilted fabrics offer ideal balance between structure and workability. Avoid lightweight quilter’s cotton or stretchy knits that lack durability for cosmetic bag applications.
How do I prevent zipper puckering?
Use a zipper foot attachment for better visibility and control. Pin the zipper thoroughly before sewing, checking alignment every inch. Sew slowly and maintain consistent pressure. Ensure your needle is straight and appropriate size for your fabric weight.
Can I use patterns from our blog for commercial sales?
Review individual pattern licensing terms carefully. Most indie patterns allow personal use but restrict commercial reproduction. Check pattern source documentation before selling finished bags.
What’s the difference between interfacing types?
Fusible interfacing bonds with heat and simplifies construction. Sew-in interfacing requires hand or machine stitching but works with delicate fabrics that resist heat. Choose weight based on your fabric—heavier fabrics need heavier interfacing.
How do I add multiple pockets to cosmetic bags?
Construct pockets before assembling main bag panels. Attach pockets to interior panels with topstitching for reinforcement and visual detail. Space pockets logically based on intended contents—larger pockets for skincare bottles, smaller compartments for lip products.
What’s the best way to personalize finished bags?
Hand or machine embroidery adds artisanal personalization. Heat transfer vinyl enables monogrammed designs. Fabric paint allows custom artwork. Apply personalization before final assembly for easier handling and more professional results.