Cosmetic brushes are investment pieces that deserve proper care and maintenance. Whether you’re a makeup enthusiast or professional artist, keeping your brushes clean directly impacts your skin health and makeup application quality. Dirty brushes harbor bacteria, fungi, and accumulated product residue that can trigger breakouts, infections, and uneven makeup application. The good news? You don’t need expensive commercial cleaners to maintain pristine brushes. This comprehensive guide explores effective DIY cosmetic brush cleaner solutions using ingredients you likely already have at home.
Creating your own brush cleaning solution is not only cost-effective but also allows you to customize formulations based on your specific needs and skin sensitivities. Many commercial brush cleaners contain synthetic fragrances and harsh chemicals that can irritate sensitive skin or leave residual buildup on bristles. By understanding the science behind effective brush cleaning, you can craft solutions that thoroughly remove makeup, oils, and bacteria while being gentle on delicate bristles.
Why Clean Your Cosmetic Brushes Regularly
Dirty cosmetic brushes become breeding grounds for harmful microorganisms. Studies from dermatological research institutions demonstrate that unwashed brushes accumulate Staphylococcus aureus, Propionibacterium acnes, and other bacteria linked to acne and skin infections. When you apply makeup with contaminated brushes, you’re essentially transferring these pathogens directly onto your face.
Beyond bacterial concerns, accumulated makeup residue affects brush performance. Bristles become stiff and clumpy, reducing your ability to achieve smooth, blended makeup application. This buildup also shortens brush lifespan significantly. Makeup artists and beauty professionals understand that regular cleaning extends brush durability by years, making it a smart investment of time and minimal resources.
For those concerned about skin health, maintaining clean brushes is as important as your skincare routine for teenagers and adults alike. Clean tools prevent cross-contamination and reduce inflammation risks, particularly important if you’re working to reduce skin inflammation.

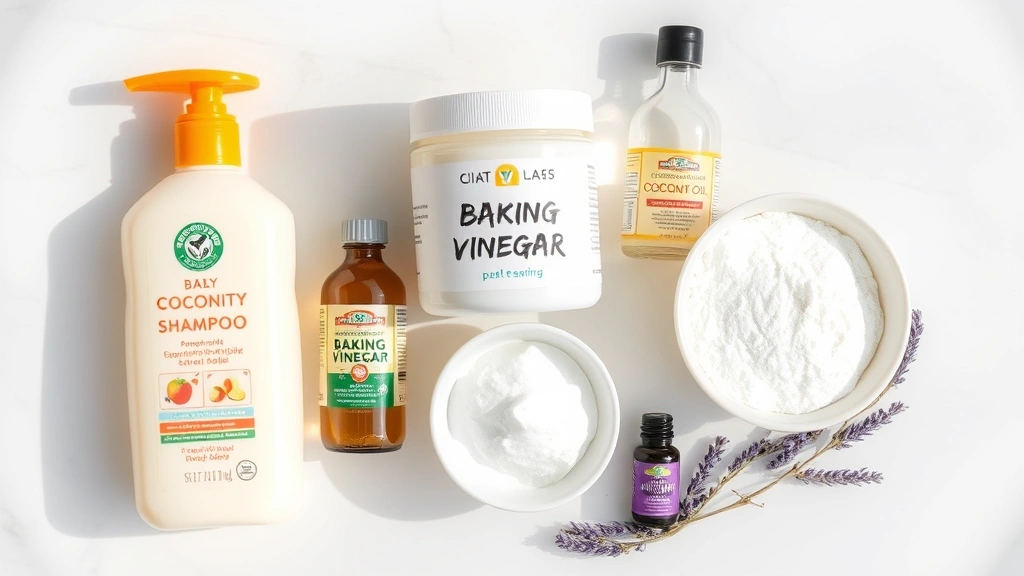
Essential Ingredients for DIY Brush Cleaners
Mild Dish Soap: The foundation of most effective DIY brush cleaners, mild dish soap breaks down lipid-based makeup products including foundations, concealers, and cream eyeshadows. Choose fragrance-free or lightly scented varieties to avoid irritation. Baby shampoo works exceptionally well because it’s formulated to be gentle yet effective at removing oils.
Olive Oil or Coconut Oil: These natural oils condition bristles while helping dissolve stubborn makeup. Coconut oil provides additional antimicrobial properties, making it particularly useful for deep cleaning. The oil penetrates between bristles, loosening trapped product without damaging delicate synthetic or natural hair.
Apple Cider Vinegar: This ingredient offers antimicrobial and antifungal benefits. The acetic acid content helps dissolve mineral deposits and product buildup while naturally sanitizing brushes. However, use sparingly as high concentrations can damage bristles over time. A 1:10 ratio with water provides benefits without harshness.
Baking Soda: A gentle abrasive that helps lift stubborn makeup residue without scratching bristles. Baking soda’s alkaline nature neutralizes acidic makeup products and eliminates odors. It’s particularly effective for brushes used with cream or liquid products that tend to cake onto bristles.
Essential Oils: Tea tree, lavender, and eucalyptus oils provide natural antimicrobial properties. These oils don’t just mask odors—they actively inhibit bacterial growth. Use sparingly, as essential oils are concentrated and can irritate skin if left on brushes. Always dilute properly before use.
Distilled Water: Using distilled water prevents mineral deposits that tap water can leave behind. This is especially important if you live in hard water areas, as mineral buildup can stiffen bristles and reduce brush lifespan.
Simple Recipes for Effective DIY Solutions
Basic Daily Cleaner: Mix one part mild dish soap with three parts warm distilled water. This simple solution works for daily spot cleaning between deep cleans. Add one drop of tea tree essential oil per tablespoon of solution for antimicrobial boost. This recipe is gentle enough for daily use and removes fresh makeup effectively.
Deep Cleaning Solution: Combine two tablespoons of mild dish soap, one tablespoon of olive oil, one tablespoon of baking soda, and one cup of warm distilled water. Stir until baking soda dissolves completely. This powerful formula tackles weeks of accumulated residue, product buildup, and stubborn stains. Use this weekly or bi-weekly depending on brush usage frequency.
Antimicrobial Power Cleaner: Mix one cup of distilled water, two tablespoons of baby shampoo, one tablespoon of apple cider vinegar, and three drops of lavender essential oil. The vinegar’s acidity combined with shampoo’s cleansing power creates an effective sanitizing solution. This recipe is ideal if you’ve experienced brush-related breakouts or skin irritation.
Conditioning Cleaner for Delicate Bristles: Blend one part gentle baby shampoo with four parts warm water and add one teaspoon of coconut oil per cup of solution. This formula cleanses while conditioning natural hair brushes, preventing brittleness and split ends. Synthetic bristles also benefit from the conditioning properties.
Oil-Based Makeup Remover: Combine equal parts coconut oil and mild dish soap (for example, one tablespoon each), then add four tablespoons of warm water. This emulsified solution is particularly effective for removing waterproof makeup, liquid foundations, and stubborn cream products. The oil dissolves makeup while soap ensures complete rinsing.
Step-by-Step Cleaning Process
Preparation: Gather your brushes and chosen cleaning solution. Fill a bowl or cup with your DIY cleaner—enough to submerge bristles without touching the handle. Have clean towels or paper towels ready for drying. If cleaning multiple brushes, use separate solutions for face and eye brushes to prevent cross-contamination.
Initial Rinse: Rinse brushes under lukewarm running water to remove excess makeup. Use your fingers to gently separate bristles, allowing water to penetrate. Don’t use hot water, as extreme temperatures can damage bristle adhesives and cause shedding. Lukewarm water is ideal for opening bristles without causing damage.
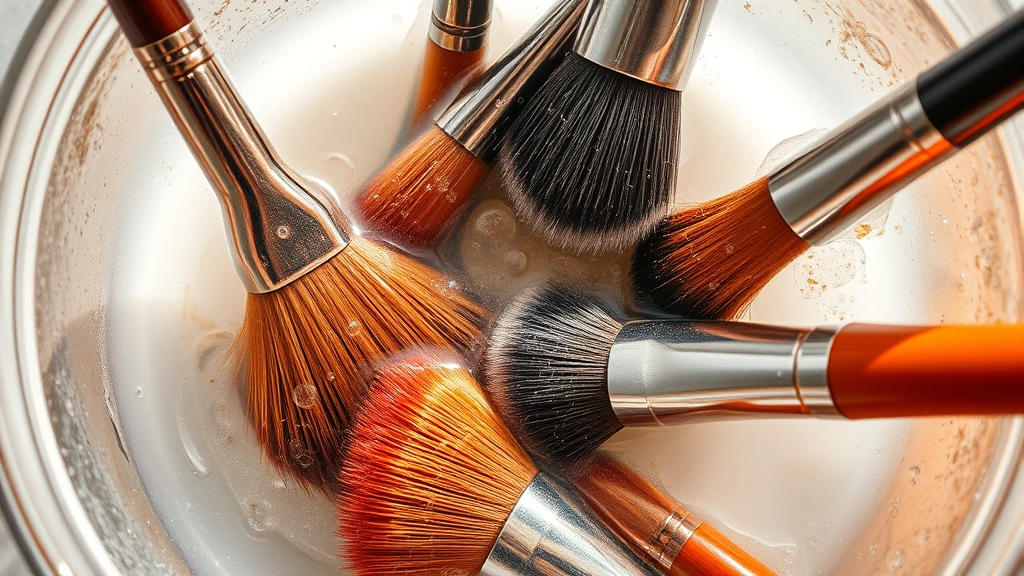
Soaking: Submerge bristles in your DIY cleaning solution for two to five minutes. For heavily soiled brushes, allow longer soaking time. Gently swirl brushes in the solution, watching as makeup and residue release into the water. You’ll notice the solution becoming discolored—this indicates the cleaner is working effectively.
Detailed Scrubbing: Use your palm or a silicone brush cleaner mat to work the solution through bristles. Create circular motions against your palm, gradually working from bristle tips toward the ferrule (metal part). Pay special attention to areas where bristles meet the ferrule, as product accumulates here. For stubborn buildup, repeat this step multiple times with fresh solution.
Final Rinse: Rinse thoroughly under running water until water runs completely clear. Squeeze gently as you rinse—never wring or twist brushes, as this damages bristles and weakens the adhesive holding them together. Continue rinsing even after water appears clear, as residual cleaner left on brushes can cause irritation.
Final Squeeze: Gently squeeze excess water from bristles using your fingers. Wrap brushes in a clean towel and squeeze to absorb remaining moisture. Never use heat to dry brushes, as this can warp bristles and damage handles.
Drying and Storage Best Practices
Proper drying prevents mildew, bacterial growth, and bristle damage. Lay cleaned brushes horizontally on a clean towel with bristles hanging slightly off the edge. This position allows air circulation around bristles while preventing water from pooling at the ferrule where moisture causes rust and adhesive breakdown.
Drying time varies by brush size and bristle density. Smaller eye brushes dry within four to eight hours, while large powder or foundation brushes may require twelve to twenty-four hours. Ensure complete drying before storage—any residual moisture creates conditions for mold and bacterial growth.
Store dried brushes bristle-side up in a clean, dry container. Many people use empty cups, jars, or specialized brush holders. Avoid storing brushes bristle-down in closed containers, as trapped moisture and poor air circulation encourage microbial growth. Keep brushes away from direct sunlight, excessive heat, and humid bathrooms.
For professional makeup artists or heavy users, designate separate storage areas for clean and used brushes. This prevents accidental use of unwashed brushes and maintains hygiene standards. Label containers with brush types and cleaning dates to track maintenance schedules.
Brush Type Considerations
Natural Hair Brushes: Goat, squirrel, and sable hair brushes require gentler handling. These bristles are delicate and prone to breakage. Use the conditioning cleaner recipe and avoid vigorous scrubbing. Natural hair brushes benefit from occasional conditioning treatments with coconut oil or argan oil to maintain softness and prevent brittleness.
Synthetic Brushes: Nylon and taklon bristles are more durable but can still be damaged by excessive heat or harsh scrubbing. Synthetic brushes actually tolerate the deep cleaning solution well, as their structure resists damage. They’re ideal for practicing thorough cleaning techniques before moving to delicate natural hair brushes.
Mixed Bristle Brushes: These combine natural and synthetic fibers, requiring balanced care. Use gentle to moderate pressure when cleaning mixed bristle brushes. Avoid extreme temperatures and harsh chemicals that might affect natural fibers while being gentler than necessary for synthetic components.
Large Powder and Contour Brushes: These require longer soaking times due to bristle density. Use the deep cleaning solution and allow extended soaking to penetrate the brush’s interior. The step-by-step process remains the same, but patience is essential—rushing through cleaning leaves product residue deep within bristles.
Small Detail and Eyeshadow Brushes: These delicate tools need careful attention. Use the basic daily cleaner for frequent cleaning, saving deep solutions for weekly maintenance. Small brushes dry quickly, usually within four to six hours, making them ideal for practicing proper cleaning techniques.
Common Mistakes to Avoid
Using Scalding Hot Water: High temperatures damage bristle adhesives and cause bristles to shed prematurely. Lukewarm water is always the correct choice. If your tap water runs particularly hot, mix hot and cold water to achieve the ideal temperature—comfortable enough to hold your hand in without discomfort.
Wringing or Twisting Brushes: This common mistake breaks bristles and loosens the ferrule. Always squeeze gently with your fingers or palm. Think of your brushes like delicate hair that requires gentle handling rather than aggressive wringing.
Leaving Brushes in Solution Too Long: Extended soaking (beyond thirty minutes) can damage bristle adhesives. Even well-formulated DIY solutions aren’t meant for prolonged contact. Five to ten minutes of soaking is optimal for most solutions and brush types.
Storing Damp Brushes: This is the fastest way to develop mold and mildew. Always ensure complete drying before storage. If you’re in a humid climate, consider using silica gel packets in your brush storage container to absorb excess moisture.
Mixing Incompatible Ingredients: Don’t combine vinegar with baking soda in your cleaning solution—they neutralize each other’s benefits. If using both ingredients, apply them separately: first the baking soda paste, then rinse and use vinegar solution. This sequential approach maximizes each ingredient’s effectiveness.
Ignoring Brush Condition Changes: If bristles become stiff, discolored, or start shedding excessively, adjust your cleaning approach. You might be using water that’s too hot, soaking too long, or scrubbing too vigorously. Pay attention to how your brushes respond and modify techniques accordingly.
Using Tap Water in Hard Water Areas: If you notice white or chalky deposits on brushes after drying, mineral buildup from tap water is the culprit. Switch to distilled water for all rinses. This simple change dramatically improves brush appearance and longevity, particularly important if you’re also concerned about skin peeling and irritation caused by product residue.
Understanding brush care connects to broader skincare concerns. Just as you’d consider how to boost collagen production naturally through proper skincare, you should maintain brushes that support healthy skin. Clean brushes prevent bacterial transfer that could compromise your skin’s protective barrier and natural collagen synthesis.
FAQ
How often should I clean my makeup brushes?
Daily-use face brushes should be spot-cleaned every day and deep-cleaned weekly. Eye brushes used with cream products need similar frequency. Powder brushes can be deep-cleaned every two weeks if used with powder products. Professional makeup artists often clean brushes after each client. The more frequently you use brushes and the more sensitive your skin, the more often you should clean them.
Can I use regular shampoo instead of baby shampoo?
Regular shampoos often contain harsher surfactants and fragrances that can damage delicate bristles. Baby shampoo is specifically formulated for gentleness while maintaining cleaning effectiveness. If you must use regular shampoo, dilute it more heavily—one part shampoo to five or six parts water instead of standard ratios. Test on one brush first to ensure compatibility.
What if my DIY cleaner leaves a residue?
Residue usually indicates insufficient rinsing. Continue rinsing under running water until water runs completely clear, then rinse a few more times. If residue persists, it might indicate too much oil in your formula. For future batches, reduce oil content slightly. Some residue is normal immediately after cleaning but should disappear once brushes dry completely.
Are essential oils necessary for effective cleaning?
Essential oils add antimicrobial benefits but aren’t strictly necessary for effective cleaning. Mild dish soap and water provide adequate cleansing power. Essential oils are optional enhancements that add extra sanitizing properties. If you have sensitive skin or prefer fragrance-free solutions, skip essential oils entirely—your brushes will still be perfectly clean.
Can I use the same solution for face and eye brushes?
Yes, the same solution works for both. However, to prevent cross-contamination, use separate containers and solutions. Eye areas are particularly sensitive to bacteria, and using the same solution risks transferring bacteria from face brushes to eye area. The minimal extra effort of using separate solutions provides significant hygiene benefits.
What’s the best way to clean brushes while traveling?
Pack a small container of your DIY cleaner concentrate (without water) and mix with distilled water in your hotel bathroom. Alternatively, use gentle facial cleansers or baby wipes designed for delicate skin. In emergencies, lukewarm water with a tiny amount of hand soap works temporarily, though it’s not ideal long-term. Always prioritize proper cleaning even while traveling to prevent skin issues.
How do I know if my brushes are completely dry?
Completely dry brushes feel light and fluffy. If bristles feel even slightly damp or smell musty, they need more drying time. Run your fingers through bristles—they should feel soft and separate easily. Bristles that stick together or feel heavy indicate remaining moisture. When in doubt, allow extra drying time rather than storing potentially damp brushes.
Can I use my DIY cleaner on makeup sponges?
Yes, the same solutions work excellently for beauty sponges. Follow the same soaking and gentle squeezing process. Sponges actually benefit from slightly longer soaking since their porous structure holds more product residue. Ensure complete drying before storing sponges, ideally in a breathable container rather than sealed plastic.